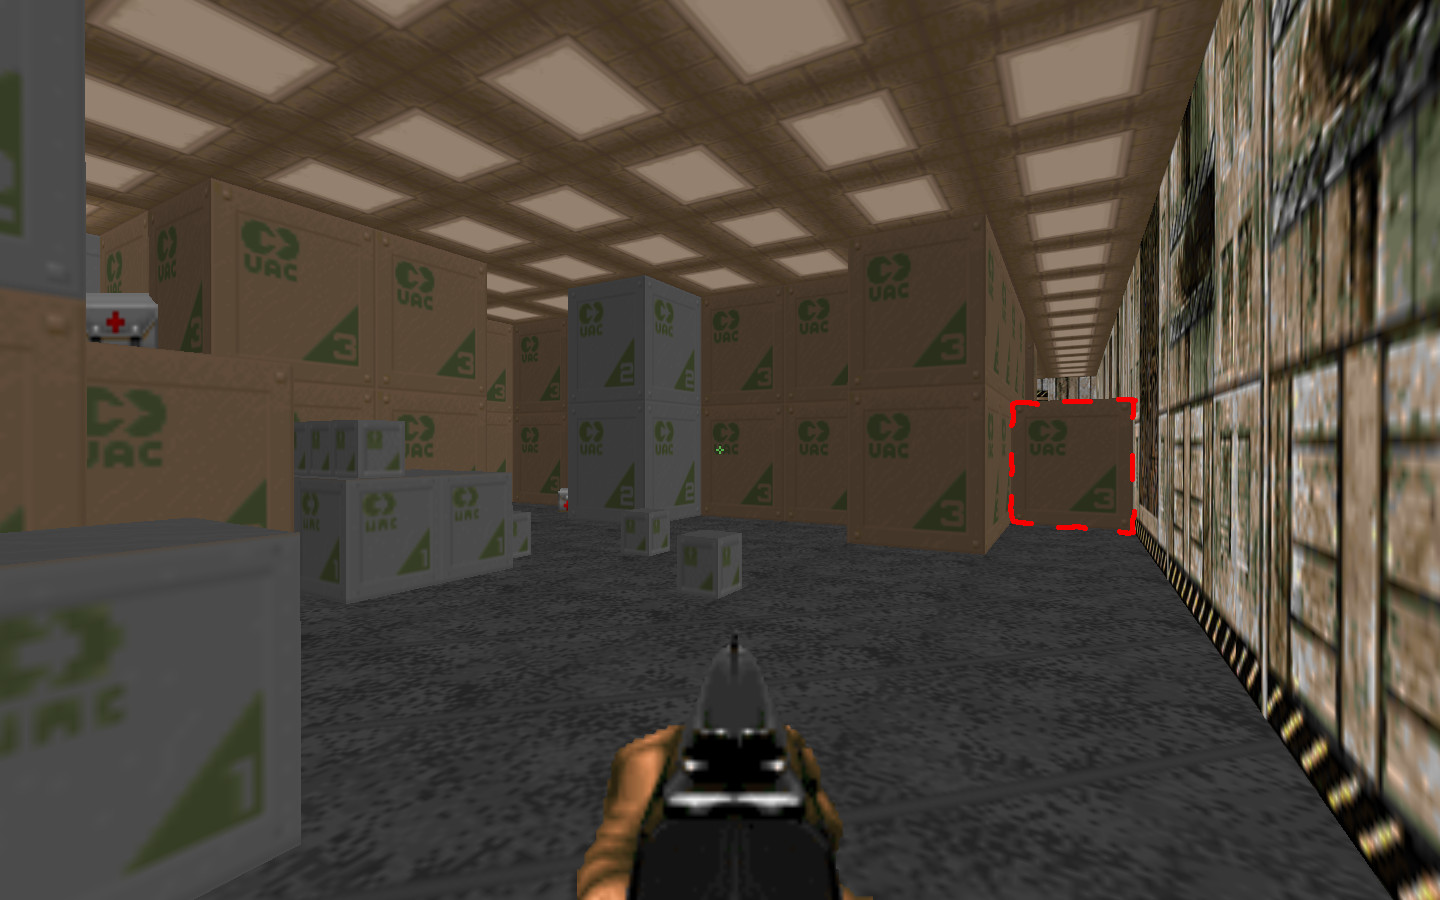
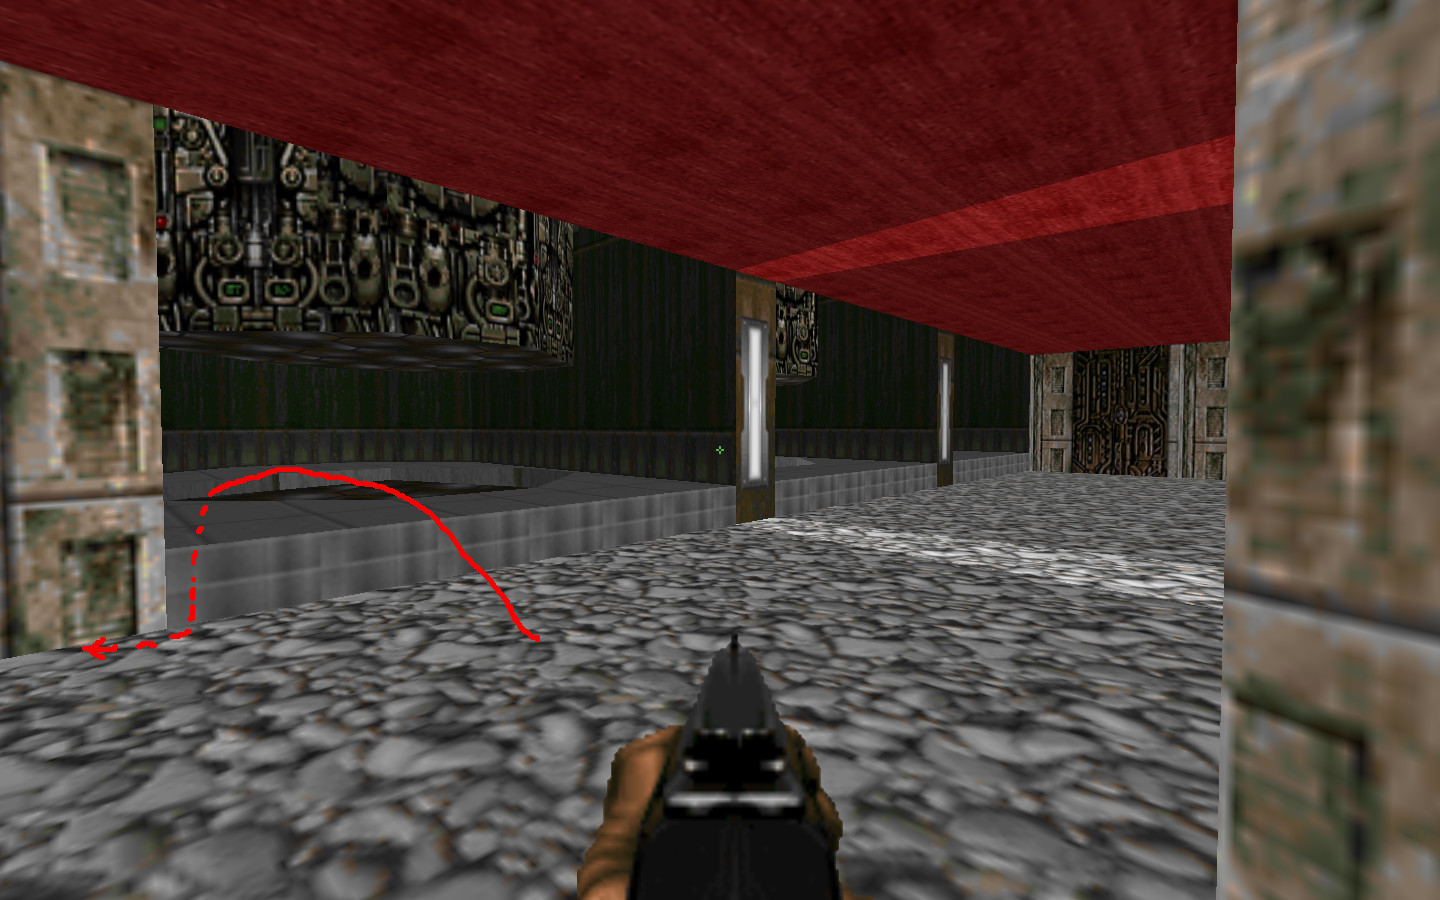
From the entry, go as far to the right as you can come (Furthest left on the map! We're upside down here!) A box is blocking your path - tap it, a secret behind...
It will only work if you come from the side shown in the picture.
At the green cross-shaped room, press the button and keep left after going up the stairs. Get the yellow keycard. Get back out, across the green room and straight ahead to the back wall. A little left, and inside the big door: the large room right next to the entry. Go inside the yellow door for a nice goodie.
Out from the secret again, stand before the entry to the green room. Orbit left around all the crates to the other yellow door. Open it, go to the room at the back, but notice the 3 closed doors on the right. When you cross the threshold, 3 columns with switches rise from the floor. I suggest you only activate one switch at the time. I start with the middle one, that opens the righ-hand door. Secret when you enter.
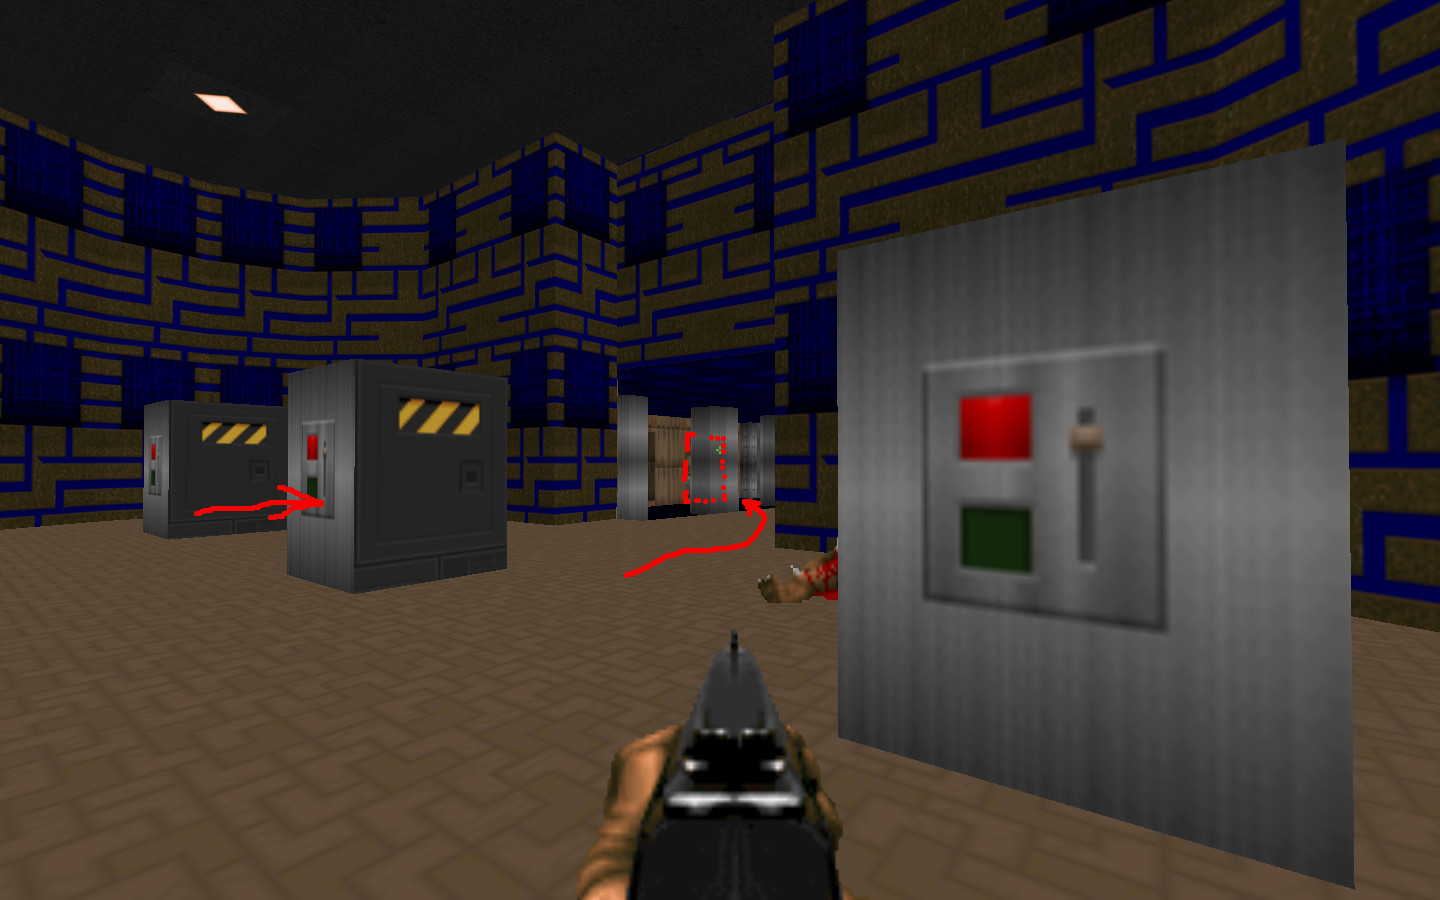
Finish the inhabitants, then return to the switch room. Now the switches are gone, but you can see the top of the columns level with the floor. Step up to the line where the switch was and apply your 'use' key. The left door will open; that's the next secret, when you enter.

Return to the switch room, step up to the line for the left switch, and 'use'. Enter room to get the secret.

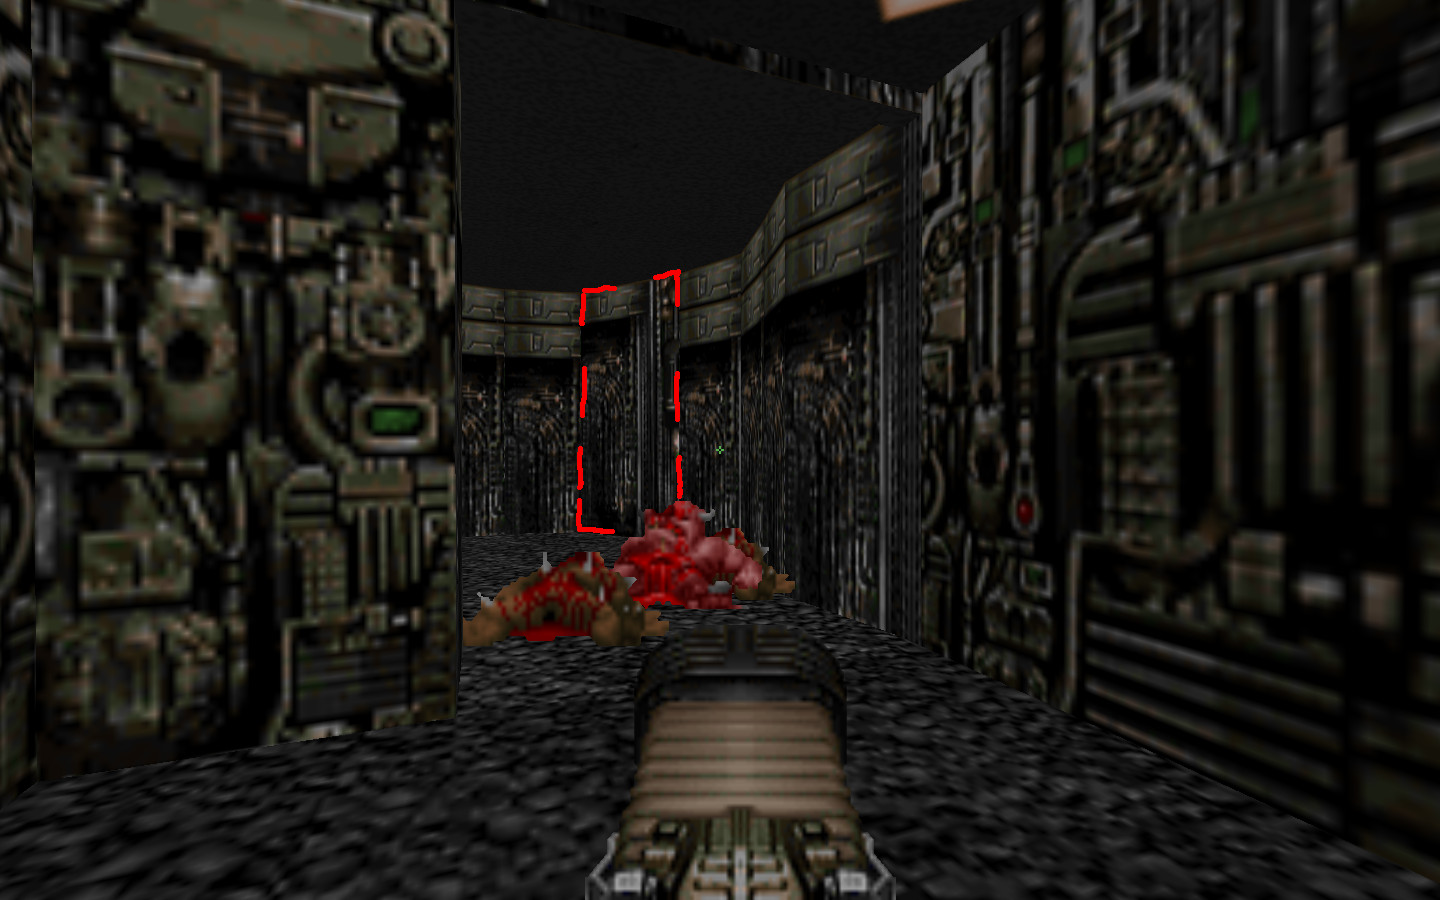
Go back to the entry of the room where you got the yellow keycard. A bit further on there are 3... things, where the bottom parts move up and down. The first one opens a door to a secret in the wall nearest where you took the keycard. You can see it, when the lift is down. Don't get squashed.
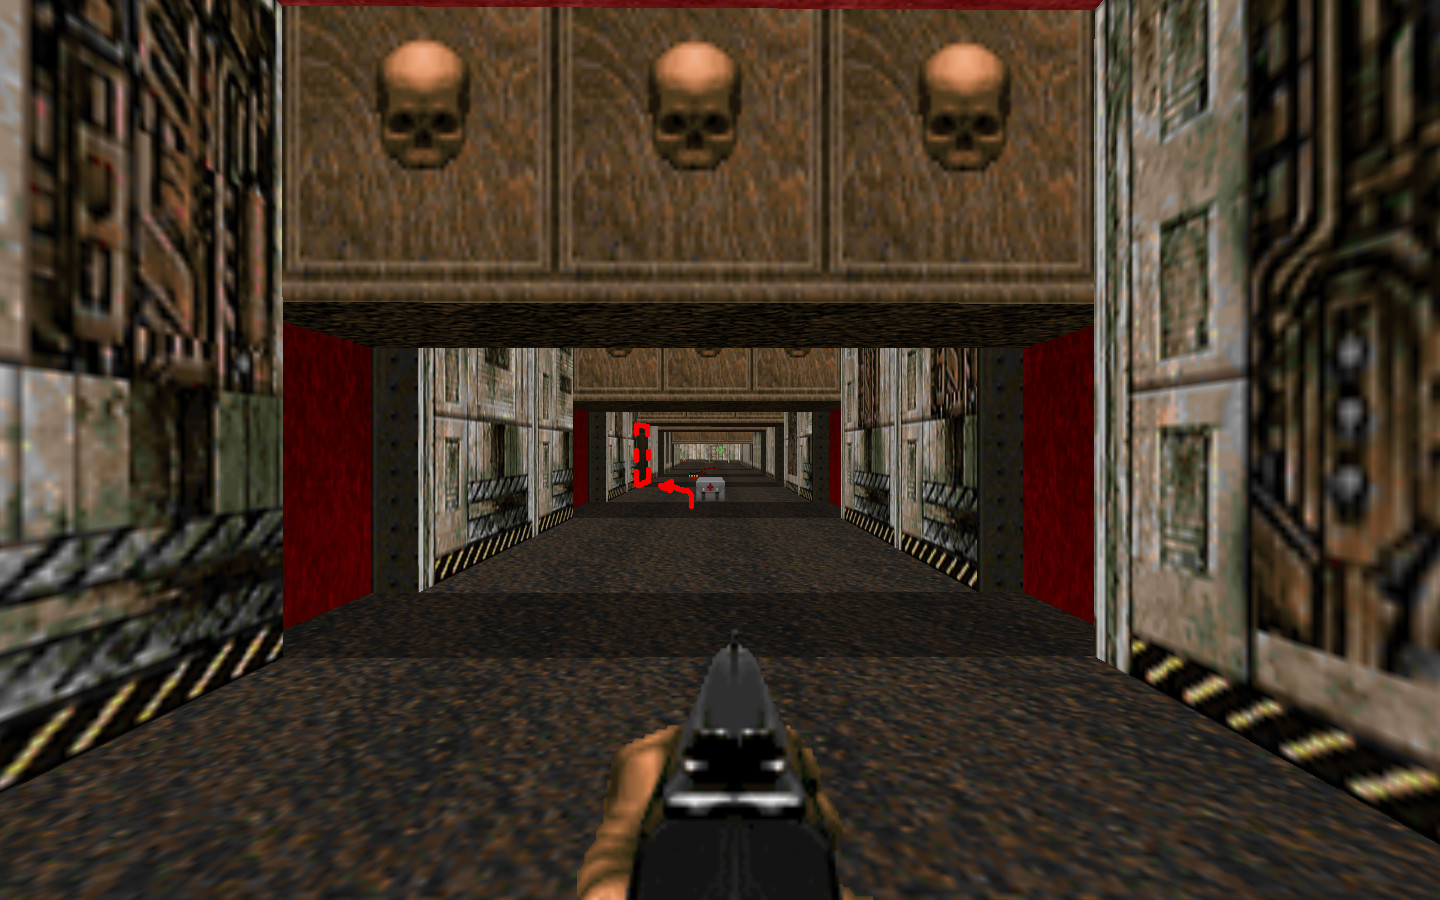
Stand at the steps in the green room. Go up the stairs; instead of turning left towards secret #6, turn right - and right again! There is 3 rooms with flashing lights (that hurt!) - in the innermost room, there is a opening at the back. Enter, and you have the secret. Wait a bit grabbing the goodie, a door has shut behind you. Wait until the door opens again, unless you have a really itchy trigger finger.
As soon as you grab the goodie from #7, you got visitors! Go to the back wall; secret door. Secret triggers as you enter.
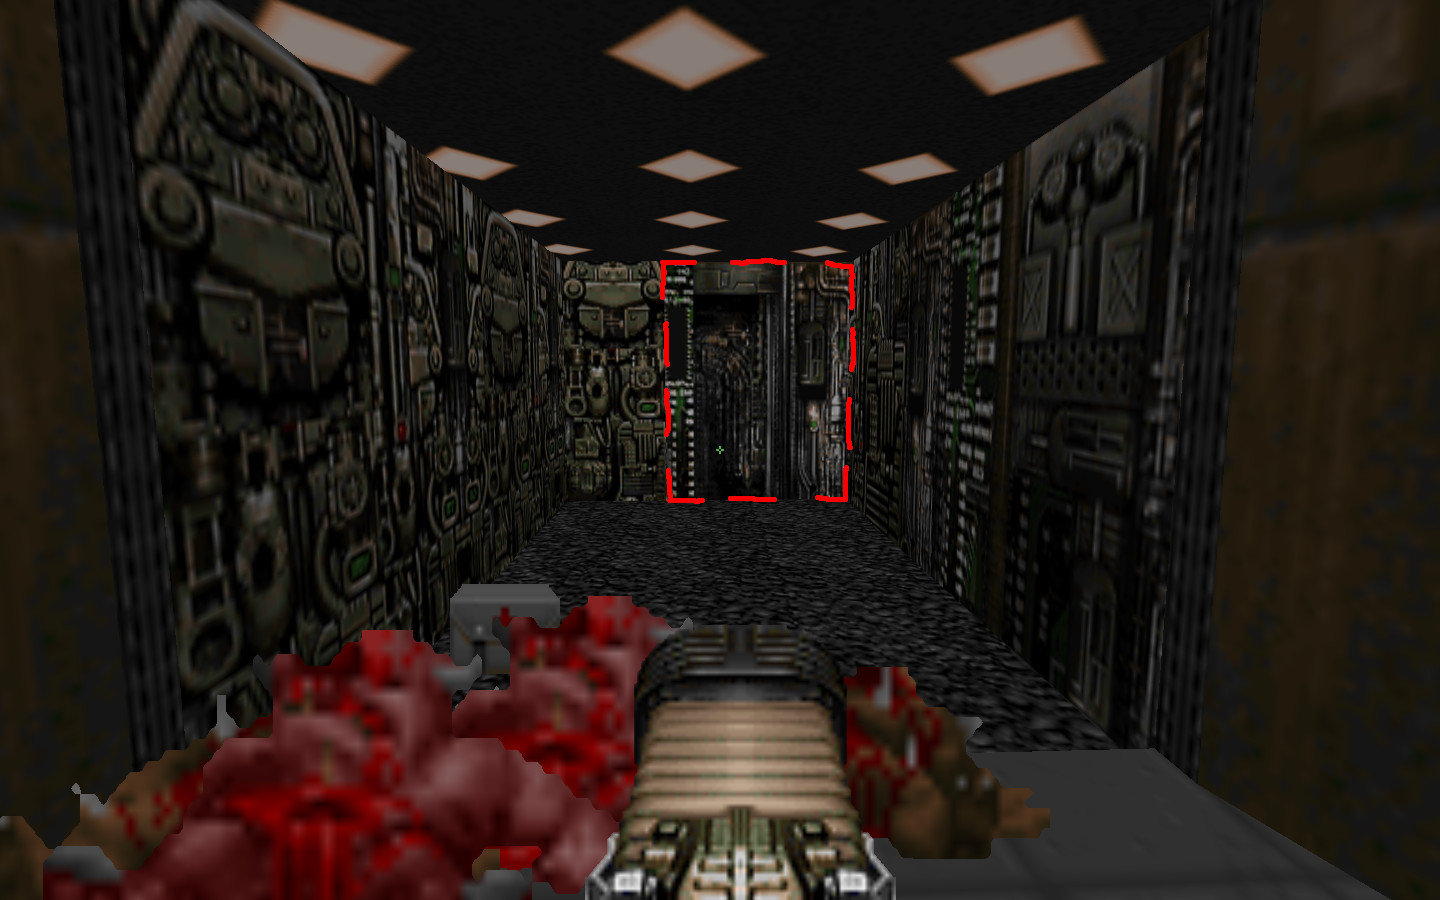
...And inside #8, the next secret door is in the wall to the right...
...And inside #9, the next secret door is in the curved wall! Talk about 'serial'...

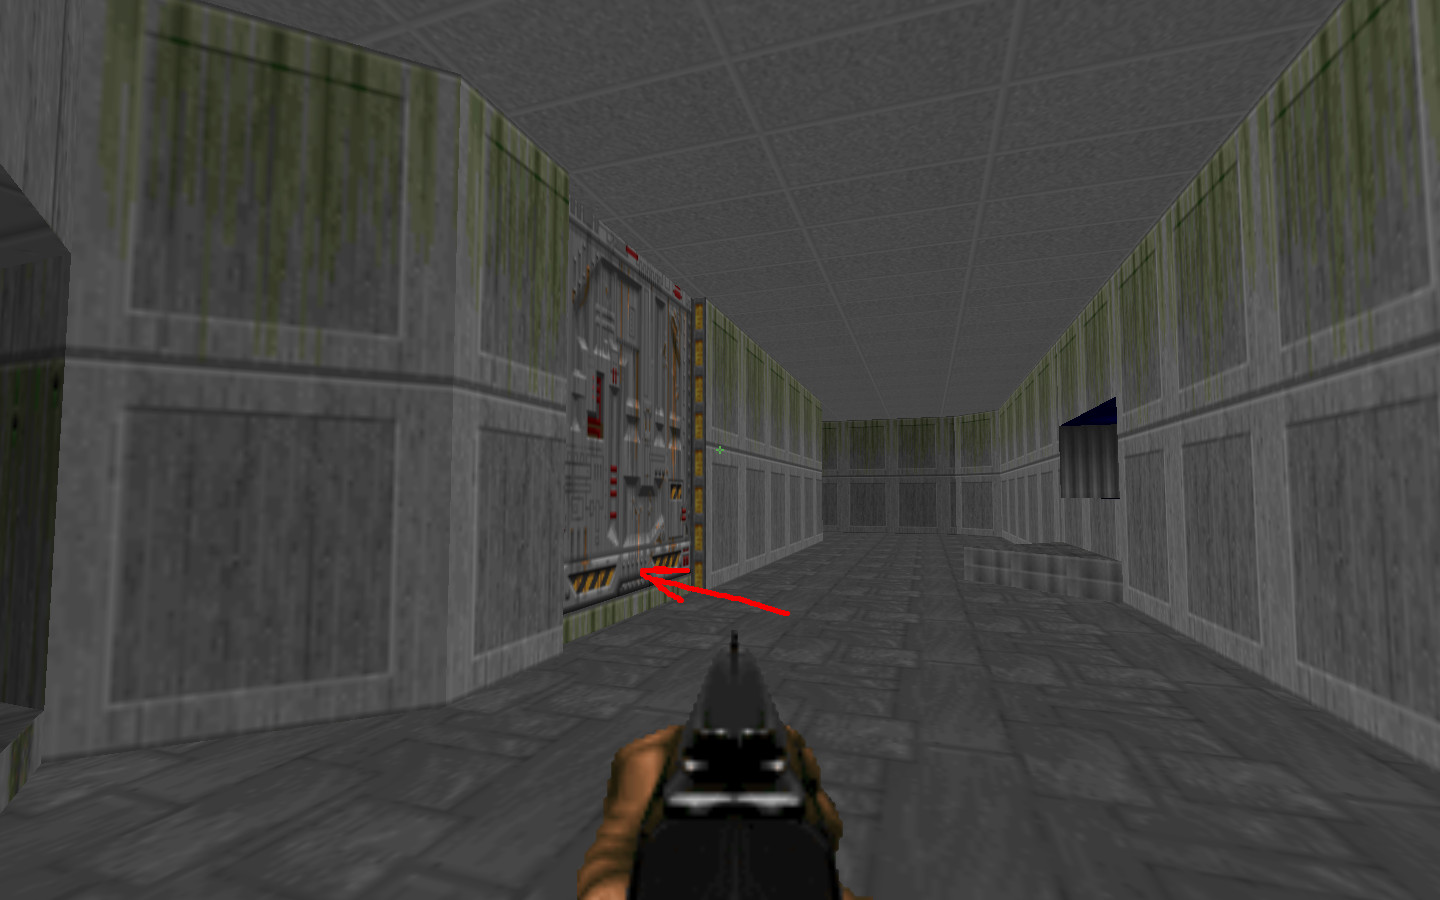
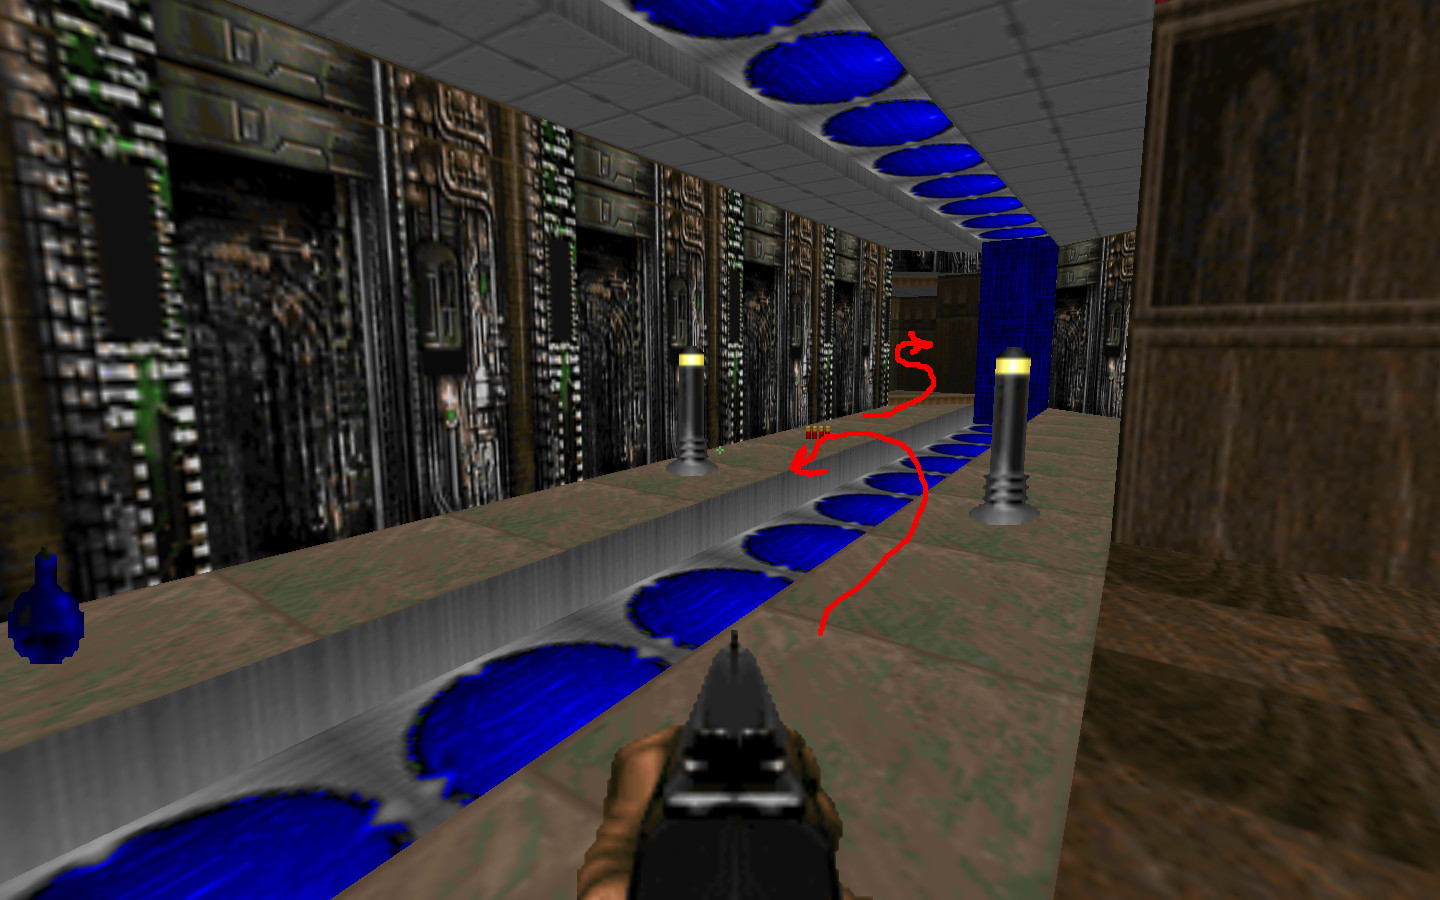
Ok, back in. A bit further down, a small 'tech' room with a couple of columns. One has a switch - you can see the exit from the switch. When you push it (the switch!) the column on your left drops and reveal a goodie.

To the left of the red door, a corridor with a row of 'crushers'. When the locals get agitated, relax, run a bit, and let the crushers do the work for you! :) On the left side, at the third crusher, a secret room!
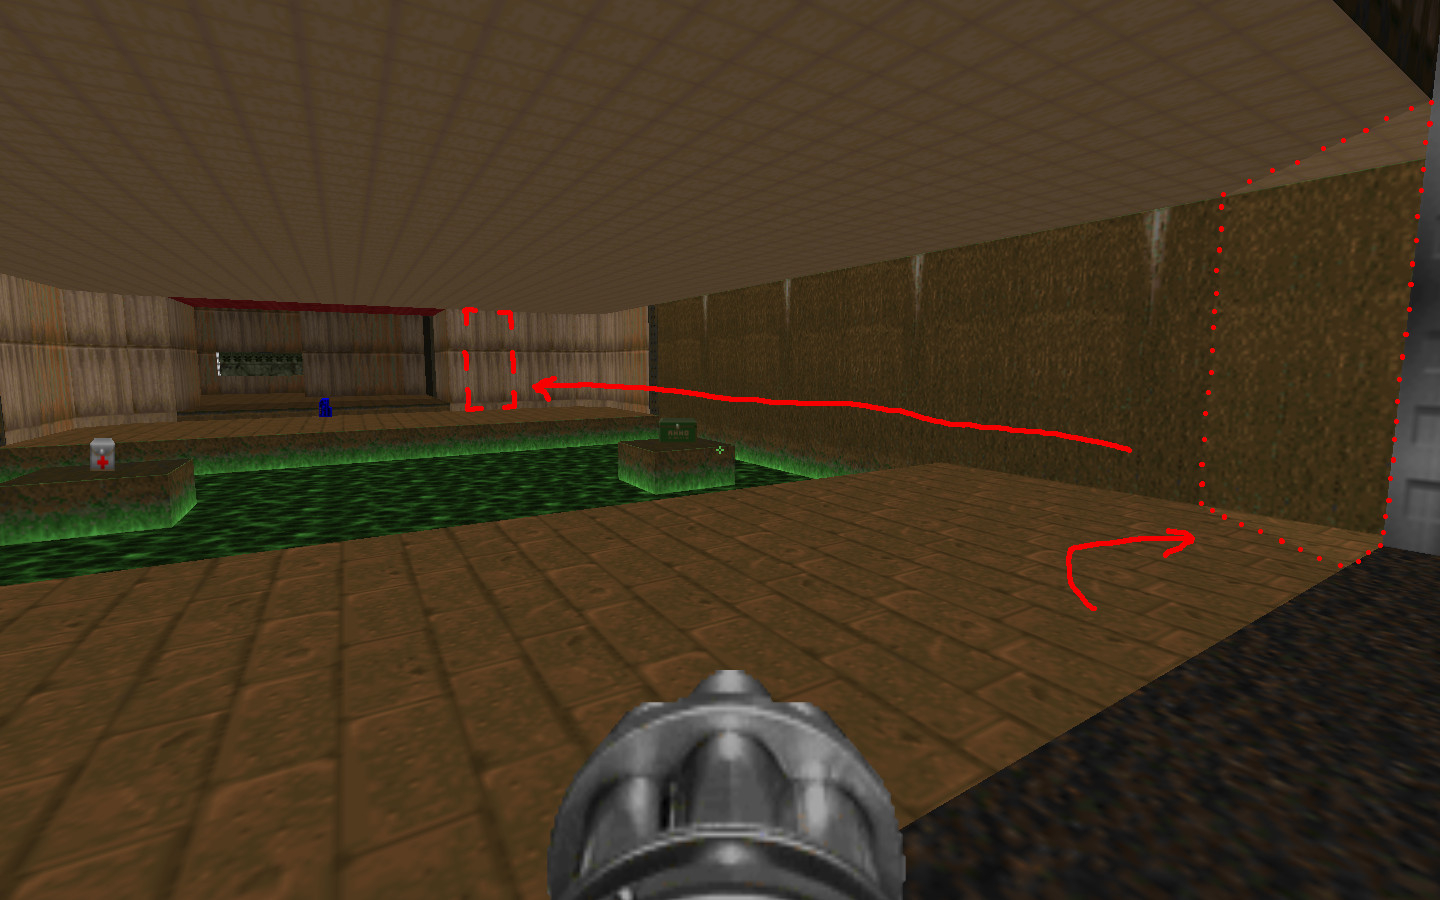
Just before the blue keycard, you find a toxic moat. To the right, opposite the blue card, there is a triangular corner, a tiny bit brighter lit than the rest. When you stand in it a lift will drop to the right of the blue card. It will only stay down for a brief moment, so haul ass, Marine!